- Published on
Building my homelab
Over the last month I finally got around to building my own Raspberry Pi cluster. My goal was to eventually build a Kubernetes cluster with Raspberry Pis. I was also doing a lot of network benchmarking at work until last month so I wanted to use this opportunity to actually try "building a network" and tinkering with it.
The very first thing I did was set up a single Raspberry Pi running Ubuntu server 24.04 with an nginx server running on it. The Raspberry Pi was connected to wlan0 and since I didn't have a static IP with my ISP, I created a droplet in DigitalOcean and set up an SSH tunnel between the droplet and my Pi to access the nginx server from the public internet.
After this exercise, I bought a smol ethernet switch and a couple of ethernet cables to build a network with two Raspberry Pis. I connected both the Pis to the switch and set everything up so that both the Pis were connected to both wlan0 and eth0. I realize while writing this that I didn't take a picture of the actual "cluster" once it was up and running and this is the only picture I have at this point:
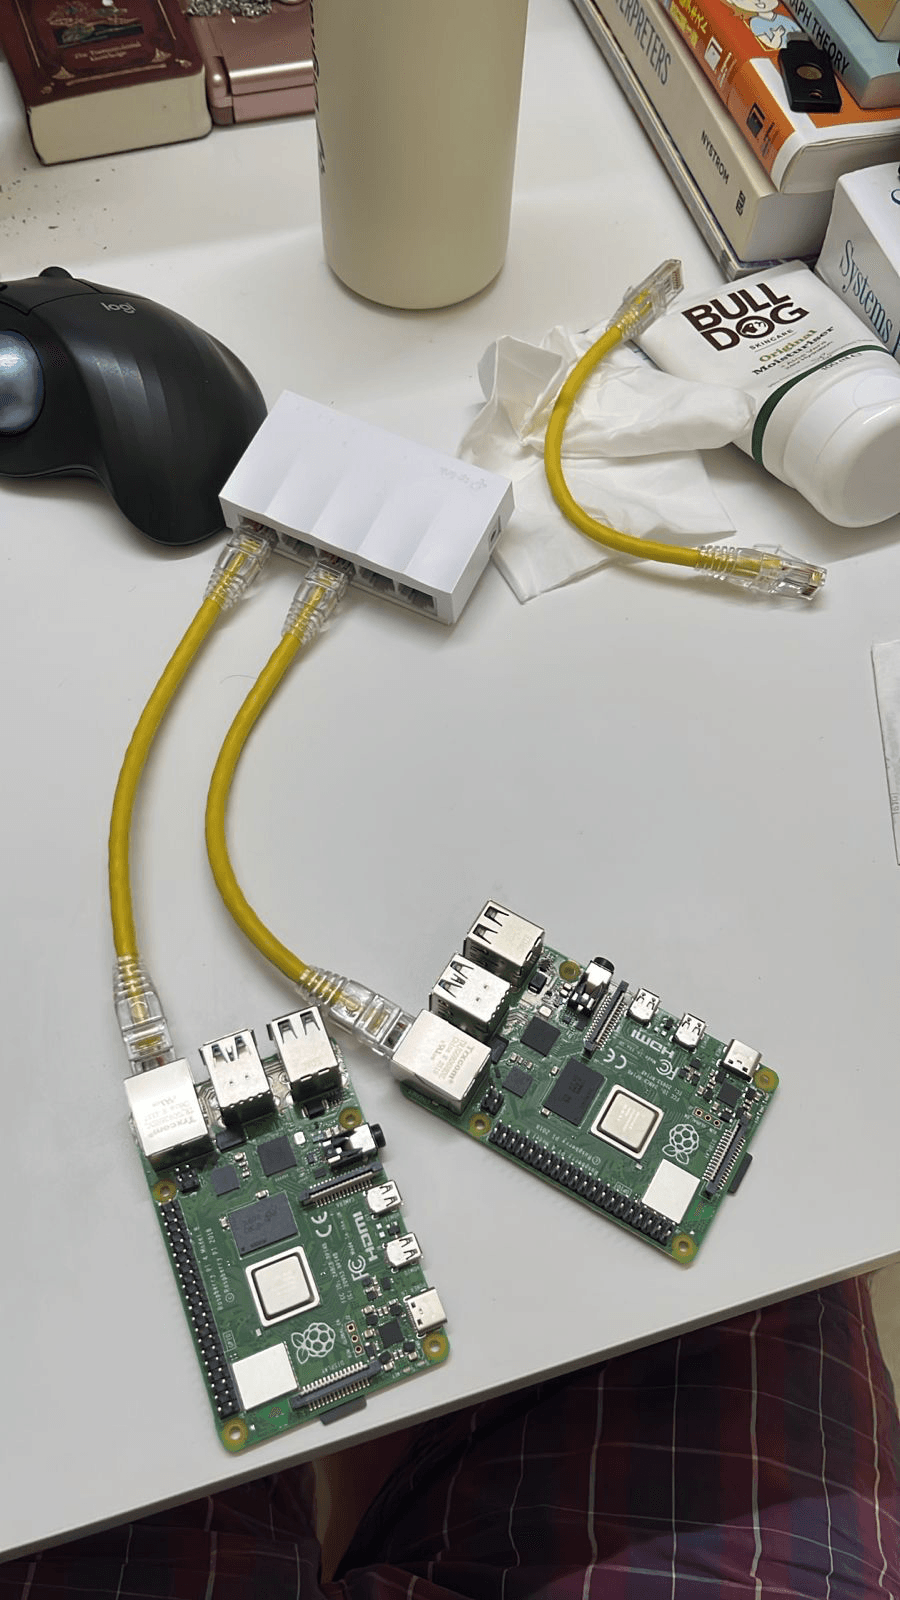
I used iperf3 to benchmark traffic between both the Pis across both wlan0 and eth0. One of my goals was to make one of the Pis into a NAT gateway, with only the first Pi connected to wlan0 and the second Pi connecting to the public internet via the first Pi. I didn't complete this however. It was really interesting to learn how our modems do the work of a modem, router and a switch though.
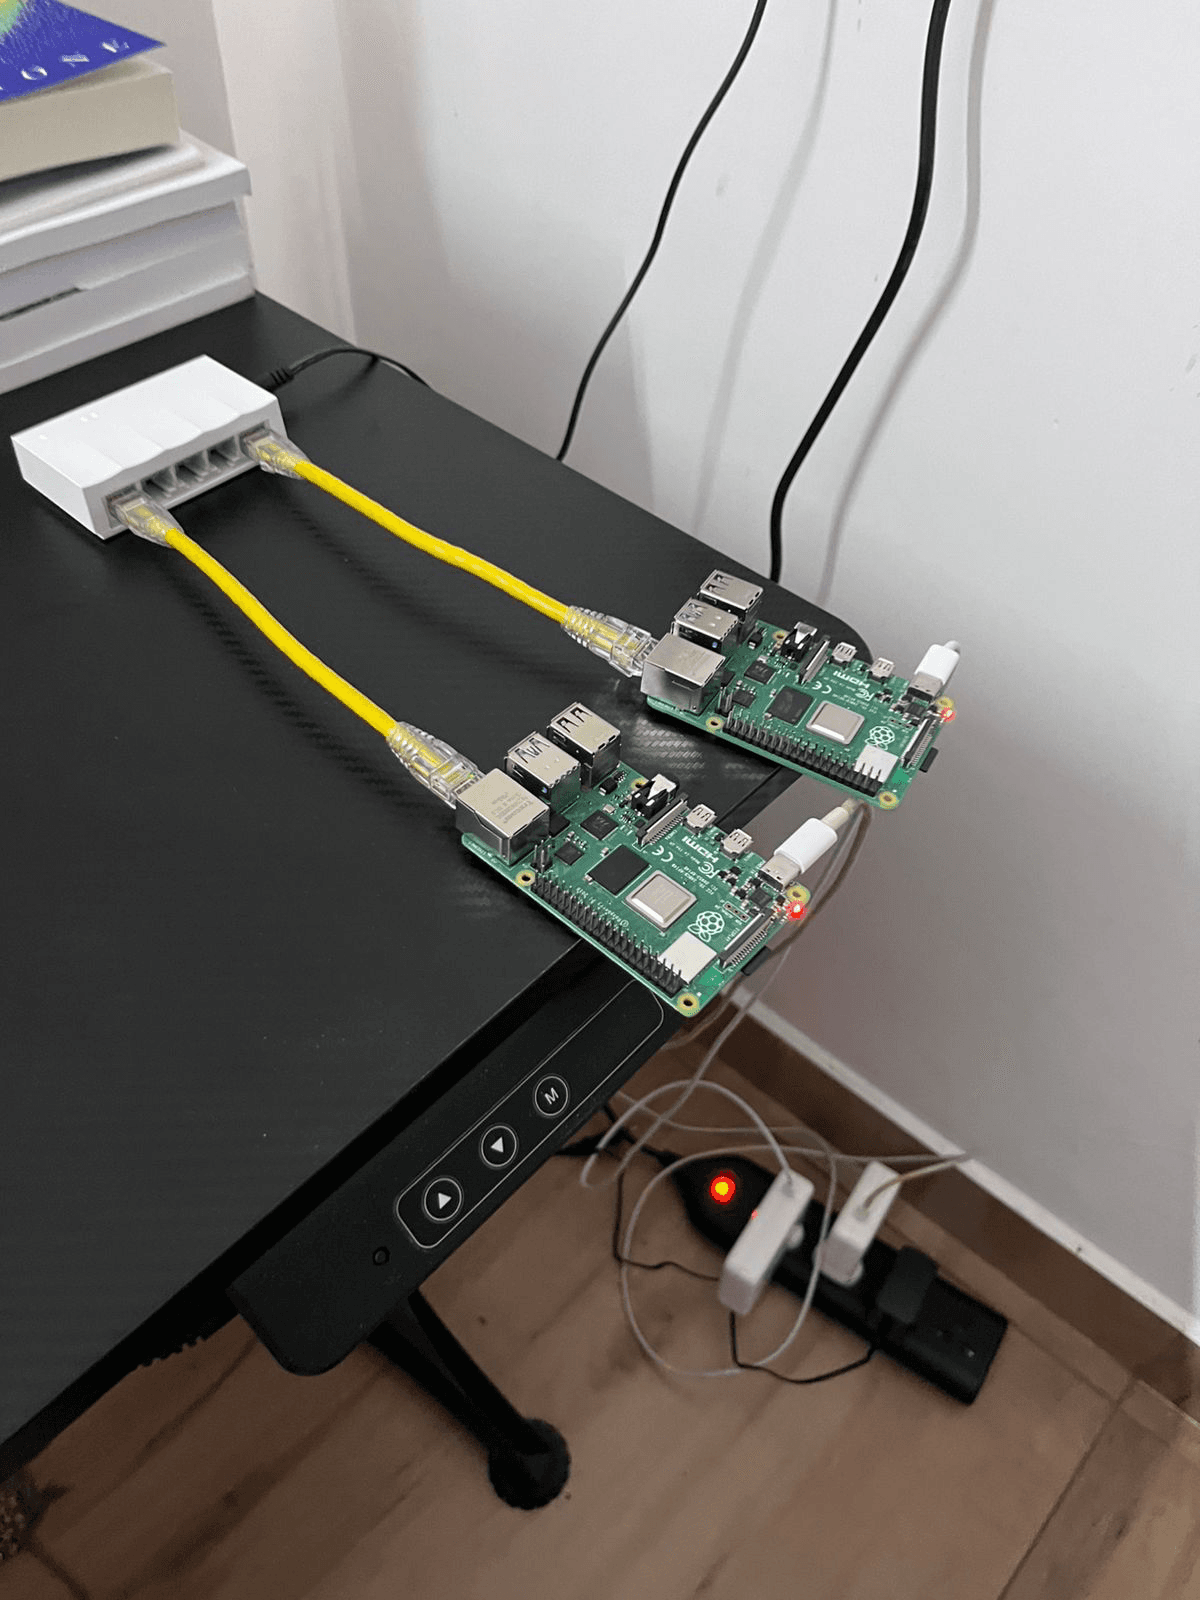
Once I had played around with my basic network enough, I started reading up about kubeadm and how I can use it to install Kubernetes in my Pis. I recreated the basic cluster, setup eth0 and everything again and installed Kubernetes with kubeadm. The kubeadm guide in the Kubernetes docs is very straightforward and easy to follow. I configured it so that the advertiseUrl for the apiserver would be an eth0 ip address so that everything within the cluster happens over the switch and not over wlan0.
After the cluster was up I scp'd the kubeconfig from the Pi to my laptop and was able to use kubectl! Sweet!

I had done all of this manually, but after I had done it once I wrote an ansible playbook to install all the prerequisites and bring the cluster up using kubeadm. All the playbooks and scripts can be found at sreeram-venkitesh/homelab.
Once I had the basic cluster running, I used the playbook to bring everything down and build it back up again a couple of times. I also mounted a 2TB SSD drive to the worker node Pi and installed local-path-provisioner to let PVCs provision multiple "volumes" as subdirectories in the SSD. I've added this to the playbook as well.
Tech used so far:
Next steps:
- Add more nodes to the cluster eventually
- Set up one of the Pis as a NAT gateway
- Move my self hosted immich and sure instances to the cluster
- Look into automated backups for the cluster and all the data
- Presentation - The cluster looks ugly. I need to buy a good case/rack and make it look pretty with good wire management
- Look into PoE switches to power the Pis over ethernet cables (I'd need to buy PoE hats for the Pis for this)
- If I don't go the PoE route, buy a good power adapter that can power all the Pis (Each Pi 4 needs at least 15W)
- Kind also uses local-path-provisioner, learn how this works
This has been a project that I've been wanting to do for a very long time. I'm excited that I'm finally doing it now. Seeing all the folks in the #homelab channel in DigitalOcean's Slack was also good motivation for me. I look forward to publishing more of these updates this year.