- Published on
Using devise for user authentication in Rails
Devise is a “flexible authentication solution” for Rails applications. Knowing your way around devise can make adding user authentication to your Rails application a much more smoother experience, since devise takes care of most of the heavy lifting for you, that it seems like magic.
In this two-part post, we will build a minimal blog application using Rails and use devise for the user authentication part.
Create a new Rails application
Let us first create a new rails application using the rails command line utility. Run the following from a terminal:
rails new devise_blog
This will create a new project inside devise_blog/. Open the directory in your favourite text editor. Let us also start the server so that you can access your application in your browser.
Open up a new terminal and run
bundle exec rails s
... to start the Rails server. You should be able to see the application running at http://localhost:3000 in your browser.
Setting up the default controller
We want to have a default landing page in our application. For this, let us create a new HomeController, the necessary route and a view file that needs to be rendered.
- Create a file
app/controllers/home_controller.rband add the following to it
class HomeController < ApplicationController
  def index
    render
  end
end
- Now add a view file at
app/views/home/index.html.erb
<p>Hello World!</p>
This serves as the “view” file or the html that we need to render when we reach the landing page.
- Now let us link everything by defining the route in
config/routes.rb
# config/routes.rb
Rails.application.routes.draw do
  root to: "home#index"
end
If you’ve done all this, you will have a very barebones Rails application that says “Hello world!”. You can confirm this by visiting https://localhost:3000 and verifying that your view file is being properly rendered.
Adding devise
In your Gemfile, add the devise gem
gem 'devise'
Now stop your server, and install the gem by running
bundle install
Great! Now that you have installed the devise gem in your project, we can do a few things to set up devise.
Run
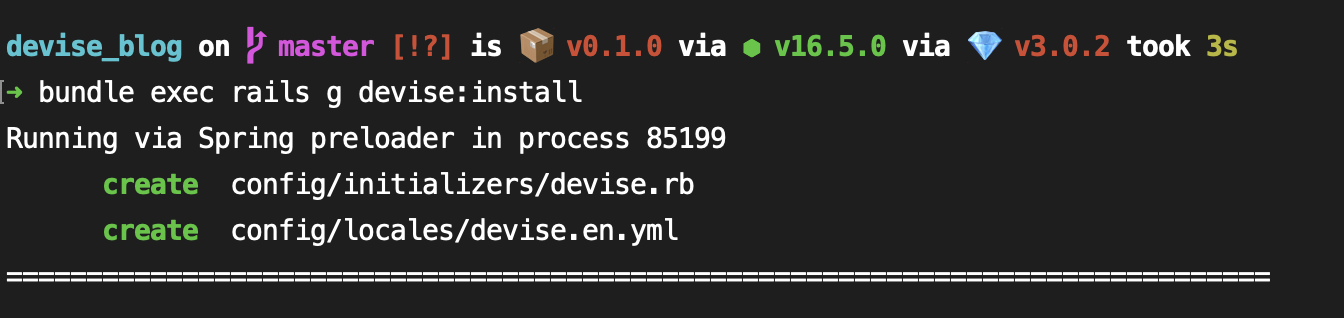
bundle exec rails g devise:install
You can see that this will generate a few files...
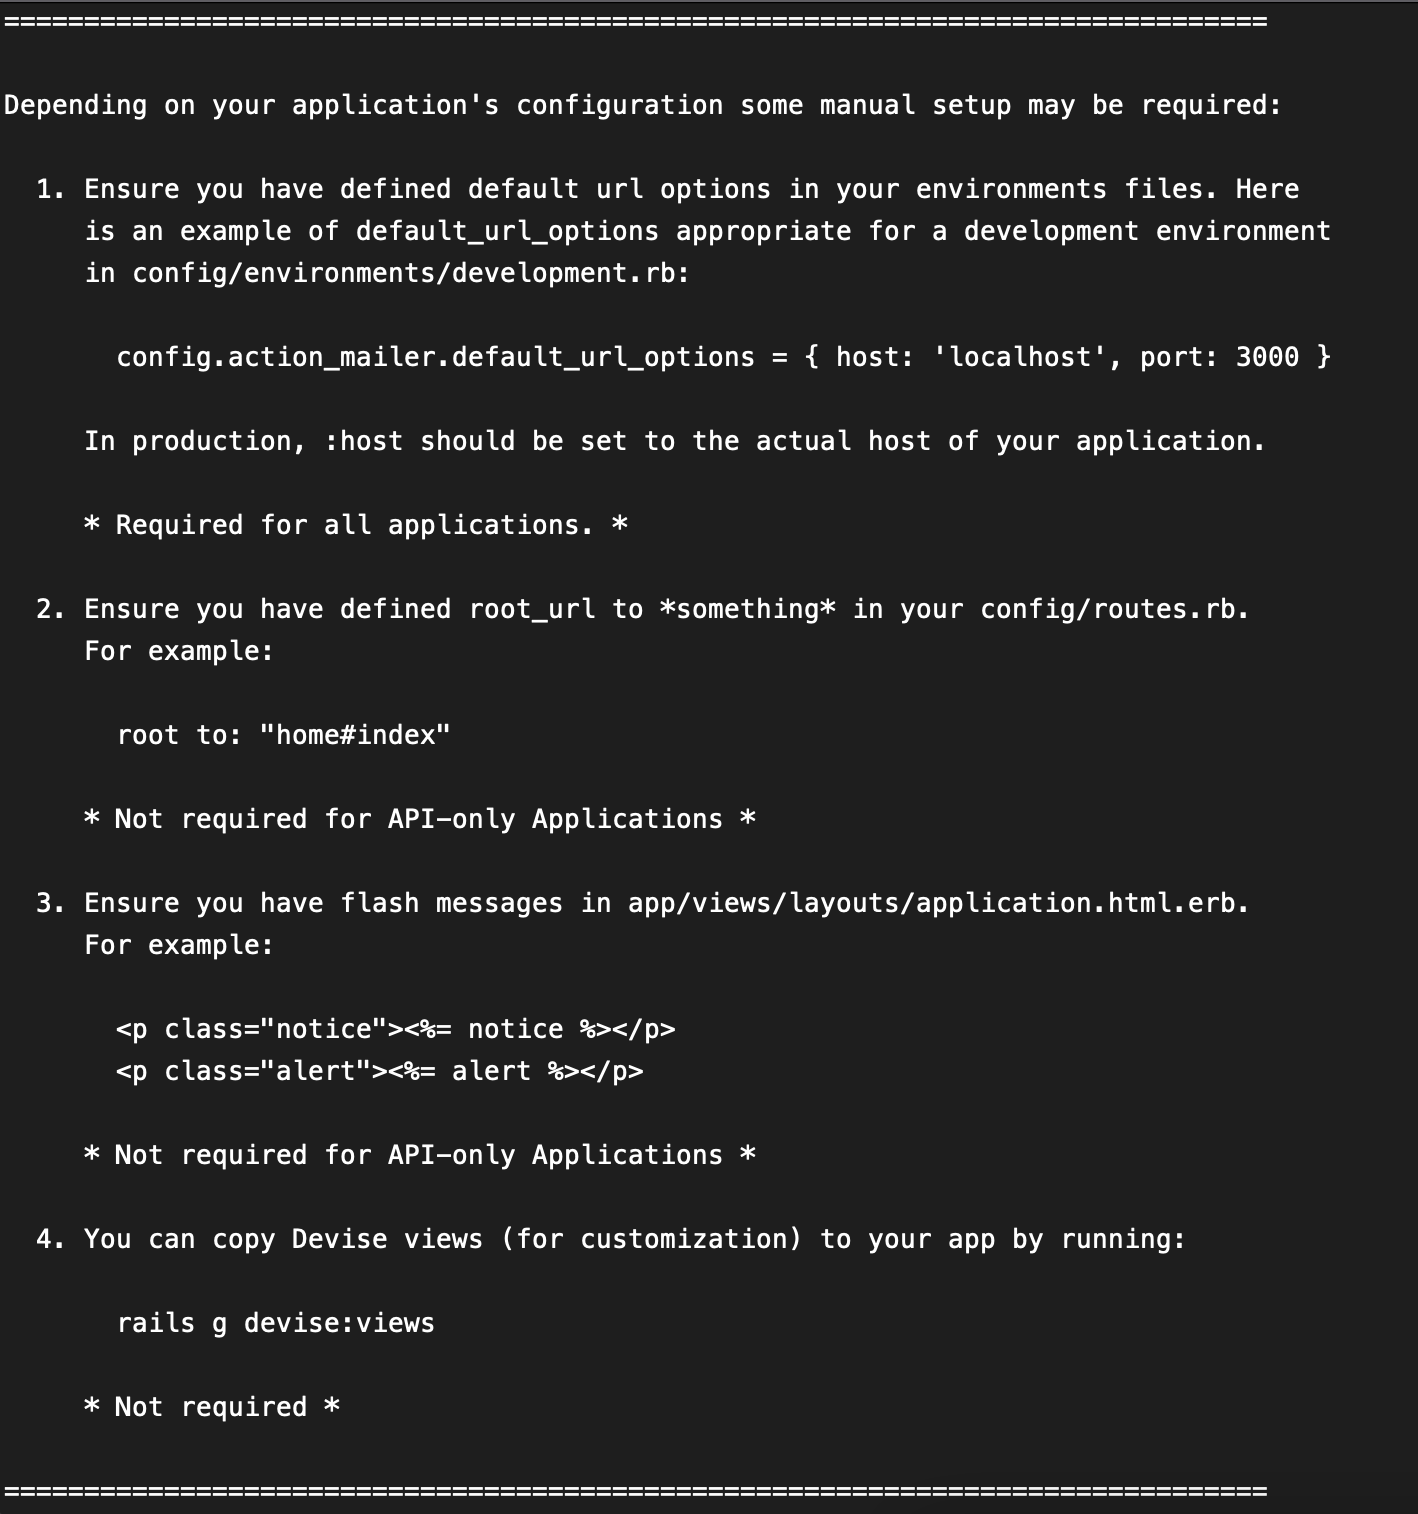
... and print some instructions in the terminal
Let us take a look into what these are.
First let us look at the two files that were generated
The config/initializers/devise.rb file is the initializer for devise in your project. It is the place where we can define all the configurations for devise in our application. For example, if you wanted to add omniauth to add OAuth and things like that on top of devise, you can configure those in here.
The devise:install command also generates a locales file, devise.en.yml which contains a whole bunch of strings that are generally used with user authentication operations. You can take a look at the file and marvel at what all devise generates to make development easier for us. Seeing this file generated the first time I was playing around with devise was the moment I realised how powerful this gem is.
Now coming over to the instructions mentioned in the rest of the message, in our case we only need to do steps 1 and 3
For step 1, add the following line in your config/environments/development.rb
config.action_mailer.default_url_options = { host: 'localhost', port: 3000 }
We can skip step 2 since we’ve already defined the routes and the controllers for our landing page.
For step 3, add the tags for the "notice" and "alert" given in the instructions into your app/views/layouts/application.html.erb inside the body tag, right below <%= yield %>. The <%= yield => will be replaced by the content from our view files (remember we only had the p tag in our view file. This yield tag will be replaced with this content)
<body>
  <%= yield %>
  <p class="notice"><%= notice %></p>
  <p class="alert"><%= alert %></p>
</body>
This is the tag where the messages like “Incorrect password” and such would appear in the UI. You can always implement custom alert messages in your application (For example if you’re using axios interceptors with React as your frontend), but we will go with this for now for the bare minimum devise setup.
Creating User with devise
Let us now generate the User model with the following command from devise
bundle exec rails g devise user
A bunch of files will be generated like before. Take a closer look at what all these are.
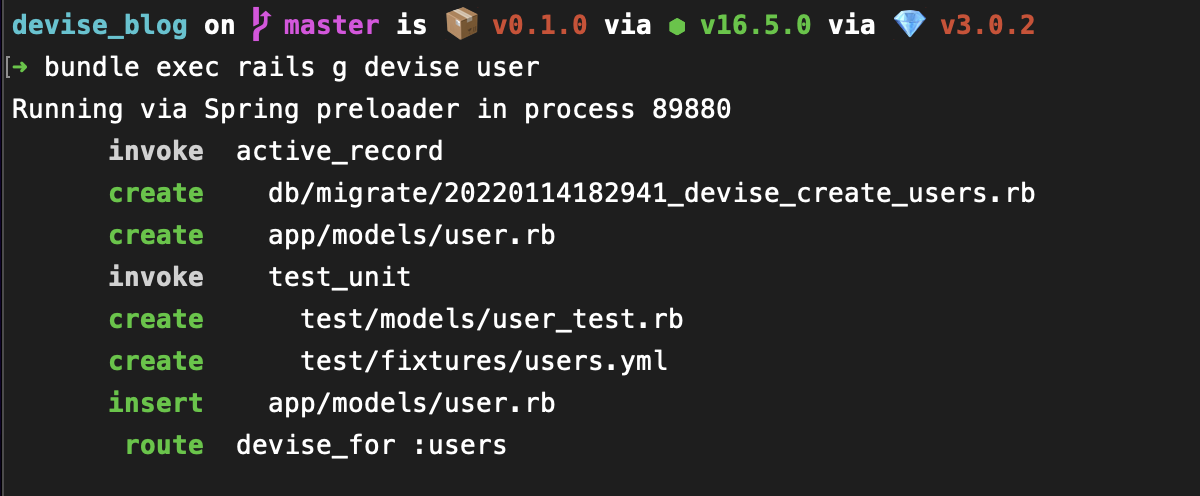
Devise generates a new migration, to create a users table. You can read through the migration and see that devise has pre-filled it with a bunch of goodies like fields for the password reset token and the time of sending the last token and so on. You can also see a bunch of lines that are commented out for features like email confirmation, locking the user out after failed login attempts and even tracking the details of login!
Now look at the User.rb model file — a few options are added by devise to configure how the user model works. The basic modules, database_authenticatable, registerable, recoverable, rememberable and validatable are already included, while there are some more options commented out, corresponding to the extra features we saw in the migration file. You can add these modules in the model file and configure the migration depending on how much functionality you need in your application.
Basic modules that comes with your devise user
database_authenticatable - Users can authenticate themselves with a login and password field and their encrypted password will be stored in our database
registerable - Users can register themselves, and can edit or delete their accounts if they need
recoverable - Users can reset their password and recover their account if in case they forget their credentials
rememberable - Remembers user's sessions by saving the information on a browser cookie
validatable - Provides validations for the user's email and password fields (You'll see that our application asks our password to be of atleast 6 characters, even though we haven't defined any custom validations in our model)
These are the basic modules that are included in our User model that we just generated. You can see a full list of modules that comes with devise here
For the sake of this demo, let us go forward with the basic modules that devise automatically adds for us. We can look into the optional modules in a later post.
You can also see that the routes.rb file has been modified to add a devise_for line for users. This is a handy method that defines all the required routes related to user authentication like /users/sign_in, /users/sign_out, /users/password/new etc. Devise takes care of all of that for you, and even keeps the routes file clean. You can check the source here if you wanna look into how it all works. Try listing out all the routes that are there in your application at this point by running bundle exec rails routes. Also note which controllers these routes are being processed by. Had you created these controllers yourself earlier?
Along with these, it also generates some test files for us where we can add tests for our newly created user model.
Now that we’ve gone through all the files and learnt what rails g devise user does, let us run the migration that we just generated
bundle exec rails db:migrate
Once the migration has been run, you’ve actually done everything you need to set up user authentication in your project!
Go to http://localhost:3000/users/sign_up in your browser, and you will be shown with a sign up form where you can create an account by entering your email and password! Remember that all these routes, views and the controllers taking care of these actions are generated by devise and we just had to configure what features we need when we installed it.
Once you sign up, you will be redirected to your root page, and you can see a message shown right below the “Hello world!” text saying that you have successfully signed up. This notice is being rendered in the <p class="notice"><%= notice %></p> tag that we had added in our application.html.erb
Some final touches
Now that we have all the functionality up, let us touch up the UI a bit so that the users will have a better idea of what is going on.
In the app/views/home/index.html.erb file, let us add a few lines that checks if the user is signed in and displays their email and a link to sign out of the application. If the user is not signed in, we will just show them a link to go to the sign in page.
<% if user_signed_in? %>
 <div> Welcome <%= current_user.email %> </div>
  <%= link_to "Sign out", destroy_user_session_path, :method => :delete %>
<% else %>
  <%= link_to "Sign in", new_user_session_path %>
<% end %>
<p>Hello World!</p>
The user_signed_in? comes from the helper methods associated with devise’s controllers. You can check the source for it here. Think about all the different things you could achieve with just this helper method!
The current_user is also a helper made available by devise with which you can access the details of the user who is currently signed in to the application. Think about what all you'd have need to write if you were to implement all this from scratch!
While we're at it, let's look at one more useful helper that devise provides. If you want to setup a controller with user authentication, you can add the following callback in the controller
before_action :authenticate_user!
With this callback added, Rails will check if the user has signed in before processing the actions in the controller - and throw an error if the user is not signed in. We will be using this in part 2 of this post, where we build our own blog application.
Try signing up with a fake email address and password, say oliver@example.com and password as welcome, and see if you can sign in and out properly.
Now as a little exercise, try if you can conditionally render the “Hello World!” greeting in the page with something like “Hello oliver” depending on whether the user is signed in or not. You can split the user’s email address and use it as the name to be shown.
If you’ve followed up till now and built your own little Rails application, congrats! You now know how to setup devise in your project and seamlessly add user authentication. Starting here, you can do a whole bunch things to greatly expand the scope of whatever you are building.
Check out part 2 of this post where we convert this barebones app into a full blown blogging app!