- Published on
Initial server setup with Ubuntu 20.04 for deploying your Rails project
This post is a part of the Rails in Production series and aims to give a general introduction about devops with Rails. This post assumes that you have a basic working knowledge of how a Rails application works.
Creating your server
- In this guide, we will be using DigitalOcean to create our cloud servers. You can sign up here and avail $100 worth of credits.
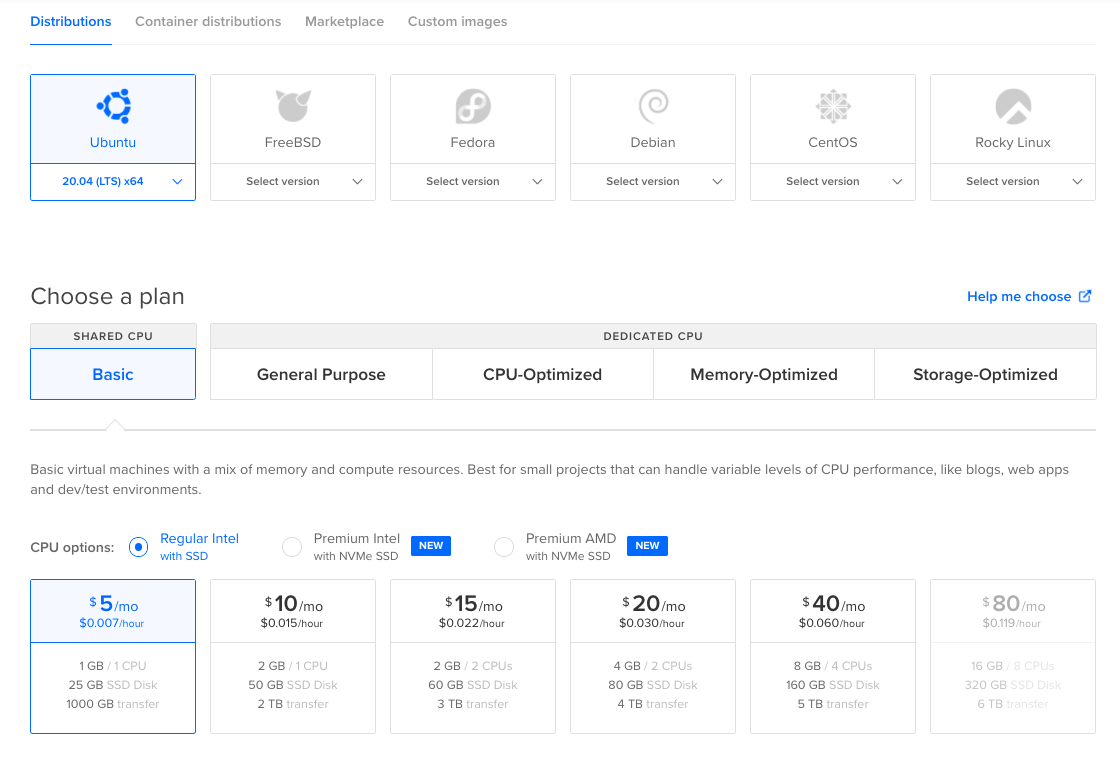
- DigitalOcean calls their VMs Droplets. A droplet is essentially a linux server that you can configure and deploy your project to. There are several different types of droplets, but for the sake of this guide we are going to be using the most basic one.
- Sign up at DigitalOcean, create a new project and click the
Dropletoption from theCreatemenu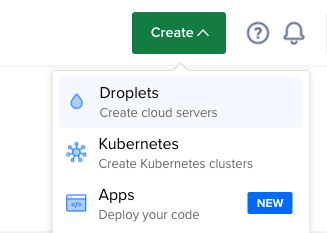
- Select Ubuntu 20.04 as your operating system when creating the droplet.
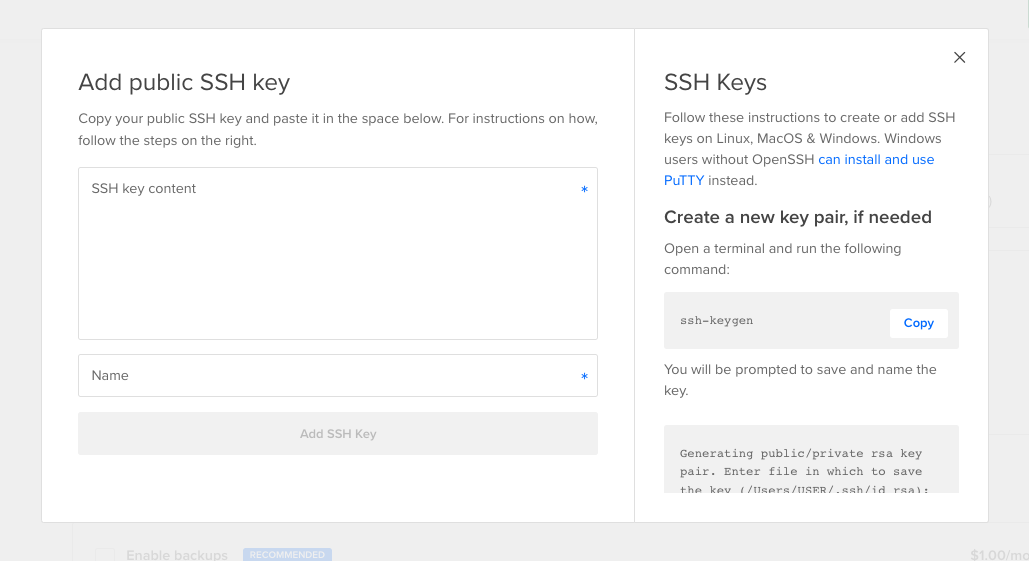
- Setup the authentication by adding your public SSH key. If you haven't generated an SSH key yet, you can follow the instructions given.
- Once you've done all this and created the server, you will be be able to login to the remote server from the terminal in your local machine like so
ssh root@ip
- While logging in for the first time, it'll ask you if you'd like to add this host to the list of known hosts. You can say yes to this. Once you've logged in to your newly created remote server, you essentially get full control of the server, through its terminal. You can now mess around with this computer, installing packages cloning your files into it etc.
- Notice that we have logged in to the server as the root user. If you run
ls -allyou'll be able to see a.sshdirectory in the/rootdirectory where you are right now. Inside this.sshdirectory you will find anauthorized_keysfile. You will notice that your SSH key is stored inside this file. You were able to SSH into this server as the root user because your public SSH key is present in this file (If it weren't you'd have gotten aPermission Denied (public key)) error).
Creating a new user
- Let us now try creating a new user in our server.
- Login to your remote server as the
rootuser. - Your ssh key would be present in
/root/.ssh/authorized_keysand this is how you are able to access the server remotely. - Add new user with the following command. You can give whatever username you prefer.
sudo adduser sreeram
- At this point, if you open a new terminal session and try logging into the server as the newly added user, you will get the above mentioned Permission Denied error. This is because we have not added our SSH key to the
authorized_keysfile inside the new user's home directory yet. - Navigate to
.ssh/authorized_keysfile inside/home/sreeramwhile you are still logged in as the root user and add your public SSH key to the file. - Try logging into the server once you've added your SSH key to
/home/sreeram/.ssh/authorized_keys
ssh sreeram@ip
- You will be able to login as the new user
Setting up the new user
Now that we have created a new user and are able to login to the server, let us configure the new user.
- Add
sreeramto the sudoers file by running the following command
usermod -aG sudo sreeram
Now
sreeramuser can run commands that require admin privileges by addingsudo.Let us now add the user to the
/etc/sudoersfile to be able to use sudo without having to enter the password. Currently if you try to run a command as the superuser, you will be prompted to enter your password. This may cause a trouble if we are trying to run a script in the server using tools like Ansible.Run the following command
sudo visudo
This will open the /etc/sudoers file. Add the following line at the end of the file (You can replaced sreeram with the username of the user to whom which you wanna enable passwordless sudo).
%sreeram ALL=(ALL) NOPASSWD: ALL
Save the file and you should now be able to use superuser privileges without having to enter your password.
Configuring Firewall
Run the following commands if you wanna enable firewall with ufw
sudo ufw status
This command can be used to get the status of Firewall in your server. You can use this to check if firewall is enabled or not.
Enabling and disabling firewall
Enable firewall by running the following command
sudo ufw enable
Adding applications to firewall
Once you have added firewall, you can configure different applications that make use of the network and add "application profiles" to define how it should work. This includes blocking certain IP addresses, allowing SSH connections and so on.
List all available application profiles
sudo ufw app list
Enable new application profiles
sudo ufw allow OpenSSH
sudo ufw allow http
sudo ufw allow https
This is only a very basic guide to what you can do with ufw. Here is a much more detailed post on using ufw from the DigitalOcean blog.
Installing dependencies
Now that we have set up the server and you are able to access it, you can SSH into the remote server and install different software that you will need to deploy your application. In this post, we will be installing and configuring everything manually, but keep in mind that going forward we'll be automating all of this. We would be able to set up a server that is ready for deploying our application by runninng a single command.
Install node, yarn, ruby, rails
Install nvm and the desired node version after that
curl -o- https://raw.githubusercontent.com/nvm-sh/nvm/v0.38.0/install.sh | bash
Logout of the server and log in again to use nvm
Then
nvm install 16.4.2
Install yarn
curl -sS https://dl.yarnpkg.com/debian/pubkey.gpg | sudo apt-key add -
echo "deb https://dl.yarnpkg.com/debian/ stable main" | sudo tee /etc/apt/sources.list.d/yarn.list
sudo apt update && sudo apt install yarn
Test this out by running
yarn -v
Install rbenv and ruby
curl -fsSL https://github.com/rbenv/rbenv-installer/raw/HEAD/bin/rbenv-installer | bash
echo 'export PATH="$HOME/.rbenv/bin:$PATH"' >> ~/.bashrc
echo 'eval "$(rbenv init -)"' >> ~/.bashrc
source ~/.bashrc
Add the ruby-build plugin for rbenv
git clone https://github.com/rbenv/ruby-build.git ~/.rbenv/plugins/ruby-build
Now check the available ruby versions
rbenv install --list
Now you can install ruby by running
rbenv install 3.0.2
rbenv rehash
echo 'export PATH="$HOME/.rbenv/bin:$PATH"' >> ~/.bash_profile
Run this to set 3.0.2 as the default ruby version
rbenv global 3.0.2
Install rails
gem install rails --no-document -v 6.1.4.1
Install puma
gem install puma -v 5.5.2
Install whatever version of puma you have defined in your application’s Gemfile.lock file.
Install postgres
sudo apt-get install postgresql postgresql-contrib libpq-dev
Now postgres is installed and is running. A default role name postgres will be created.
You can access the postgres shell by running the following
sudo -u postgres psql
Or you can manually get into the postgres user and then running psql
sudo -i -u postgres

psql
Install nginx
sudo apt-get install nginx
sudo systemctl start nginx
sudo systemctl enable nginx
After installing and starting nginx, you should be greeted with the nginx homepage if you visit your server's public IP in a browser. You can either edit the default nginx config or add your own to point it to you application once you got it running in the server. For example you can point it to your Puma process ID file or a specific port at which your application is running.
Read the rest of the posts in the Rails in production series to learn more about deploying your Rails application to the server you just created.